Instructions for making runes
To begin with, most people who are interested in rune magic or reading runes first deal with runes that are available for purchase. Usually this is a rune set made of wood or stone. But what’s wrong with making your own rune set / rune alphabet? Here you will find out why you should do so and learn step by step what to consider when making your own runes.
Why make your own runes?
Handmade runes, made by your own hand, are potentially the better runes for a rune oracle. The background is this. Through the intensive study and hand making of the rune stones, you immediately charge them with energy.
What do I need to make rune stones or a rune set?
To make your first rune stones you don’t need much. A carrier / support material and tools for carving, painting or engraving. In total, you need 24 individual pieces of almost the same size. So that you can reproduce the complete Elder Futhark alphabet.
What is suitable as material?
In principle, a runic symbol can be applied to almost any object or surface. However, the following things are particularly suitable.
Material
- Small flat pebbles
- Sections of twigs or branches
- Small twigs
- Scraps of paper
- Bones
Attachment tool
- Pencil or drawing tool
- pointed object for carving / knife
- paint
- blood
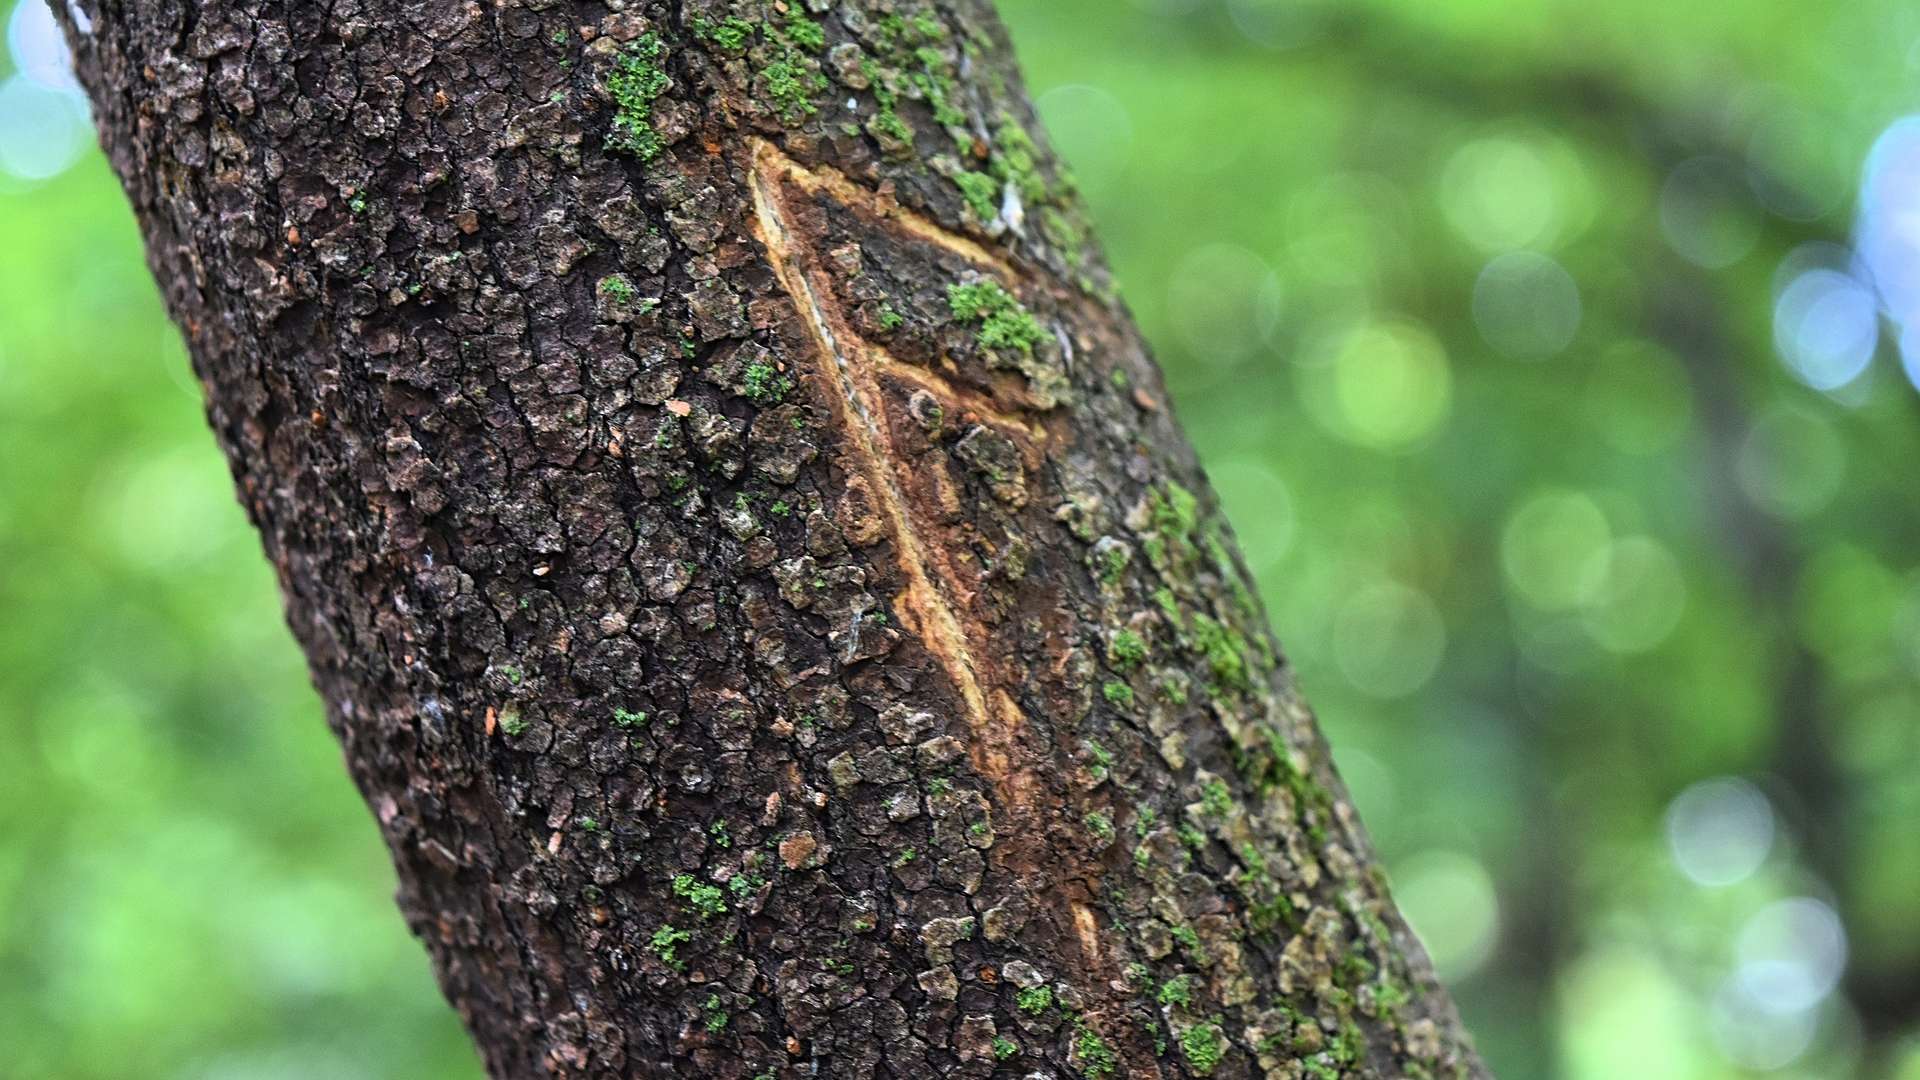
Correctly read, paper cuttings on which you then draw the rune are just as suitable as a stone that has been painstakingly carved with a rune, and possibly coloured afterwards. When it comes to wood, the branch of a living tree that bears fruit is the best choice. But other woods are also possible. An ash tree, Odin’s sacred tree Yggdrasil, is a very good choice. After cutting off the wood, it is sensible and correct to leave an offering of water.
Runecrafting – Step by step
- Gather the material you want to put the runes on. To do this, go out into nature and look for stones or whole branches. To stay in harmony with nature, please take only what you need and do not immediately cut down a tree or saw off a branch.
- If necessary, you should clean your support material. The best way to do this is to use water. Spring water, water from a waterfall or a clear stream are excellent. You can clean the surface with a cotton cloth or a brush made of natural material. Then let it dry in the sun.
- Then draw the rune with a pencil on the stone, wood or whatever you want to put it on. This will serve as a template for the actual application.
- Now you have a template to carve. Use a pointed object, a knife or whatever is needed to engrave the rune on the support. Score as deep as necessary to make it visible.
- Once you have marked the rune on your support, you can clean it again. Then trace it with some paint or blood. Let them dry again and they are almost ready for use.
Depending on how you want to charge the rune, you can do the work in the full moonlight or on a holy day. This will give it extra power. You can also make rune stones for everyday use at any time.
The Rune Consecration
Finally, you should consecrate the rune sets. This process is very important before you use the runes for the first time. You need to feel connected to your rune set. The simplest way to consecrate is to place the runes next to you. Then take a rune and meditate on its meaning and purpose, make yourself aware of its purpose. Once this is done with the first rune, place it next to you on the other side. You can light a candle or keep a fire burning. In this case, move the runes over the fire for a short time as you move them from side to side.